The Tricks of the Lush Flowering of Clematis
Understanding Clematis and Its Flowering Potential
Clematis is celebrated for its breathtaking blooms, making it a favorite among gardeners who want to add vertical interest and vibrant colors to their landscapes. However, achieving the lush, abundant flowering that clematis is known for requires a combination of knowledge, care, and attention to detail. This guide will walk you through the essential tricks to cultivate clematis that will reward you with spectacular blooms season after season.
Choosing the Right Clematis Variety
Clematis comes in over 300 species, each offering unique characteristics in terms of size, flower color, and blooming period. Selecting the right variety for your garden is the first step toward ensuring lush flowering.
Grouping Clematis by Blooming Habits
Clematis varieties are categorized into three main groups based on their flowering patterns and pruning needs:
Group 1: Early-Flowering Clematis
Bloom Time: Late winter to early spring.
Characteristics: These varieties flower on the previous year’s growth. Examples include Clematis montana and Clematis alpina.
Pruning Tip: Minimal pruning is required, typically after flowering to shape the plant.
Group 2: Large-Flowered Hybrids
Bloom Time: Late spring to early summer, with a second flush in late summer.
Characteristics: These clematis bloom on both old and new growth, offering prolonged flowering periods. Popular examples include Clematis 'Nelly Moser' and Clematis 'The President.'
Pruning Tip: Light pruning in late winter or early spring encourages new growth.
Group 3: Late-Flowering Clematis
Bloom Time: Summer to early fall.
Characteristics: These varieties flower on the current season’s growth. Examples include Clematis 'Jackmanii' and Clematis tangutica.
Pruning Tip: Hard pruning in early spring to about 12 inches above ground level promotes vigorous growth.
Pro Tip: Plant a mix of varieties from different groups to ensure continuous blooms throughout the growing season.
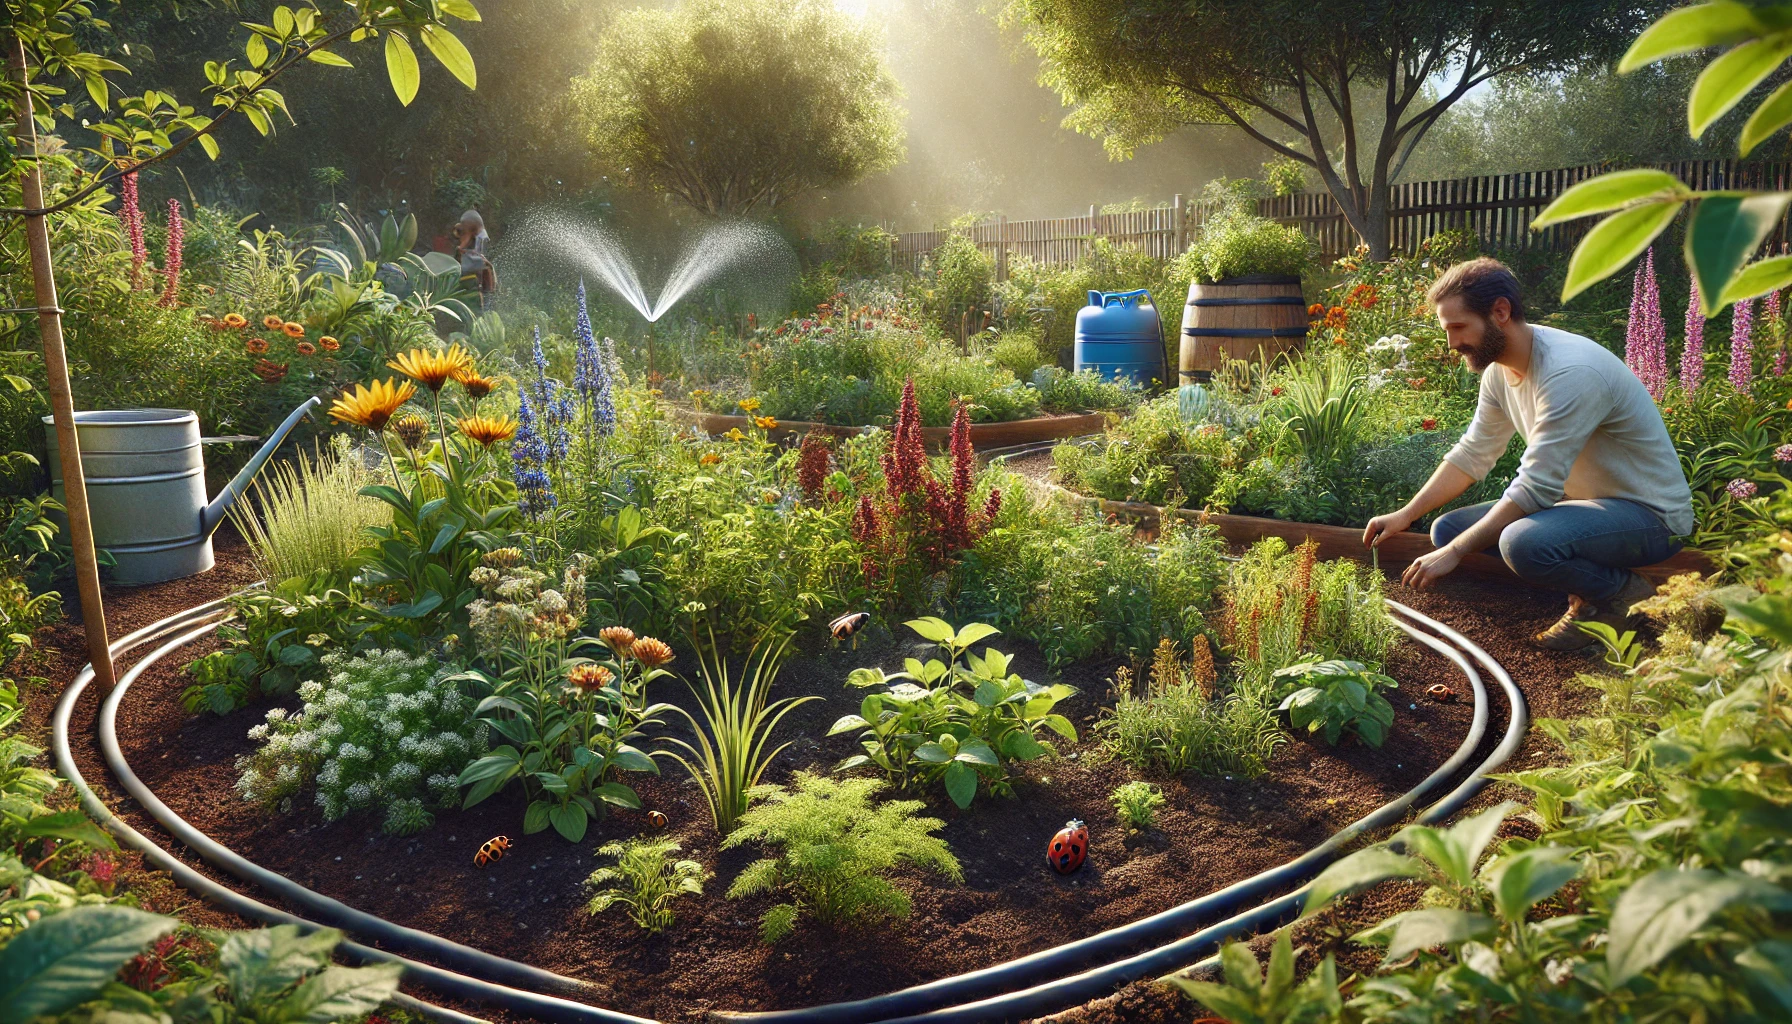
Creating the Perfect Environment
Clematis thrives when provided with the right growing conditions. Understanding and addressing its specific needs is key to unlocking its full flowering potential.
Soil Requirements
Clematis prefers fertile, well-draining soil that retains moisture. Before planting, enrich the soil with organic matter such as compost or well-rotted manure. This improves both fertility and the soil’s ability to retain water, creating an ideal environment for root development.
Soil pH: Neutral to slightly alkaline soil (pH 6.5–7.5) is best. If your soil is acidic, add garden lime to adjust the pH.
Pro Tip: Clematis roots appreciate cool, moist conditions. Use mulch or decorative stones around the base of the plant to protect the roots from heat and retain moisture.
Sunlight and Shade Balance
While clematis loves basking in the sun, different varieties have specific light requirements:
Full Sun Varieties: Most clematis need at least six hours of direct sunlight daily to thrive.
Partial Shade Varieties: Some types, like Clematis montana, can tolerate and even prefer partial shade.
Pro Tip: Aim for the “head in the sun, feet in the shade” principle by ensuring the top of the plant gets sunlight while keeping the roots cool and shaded.
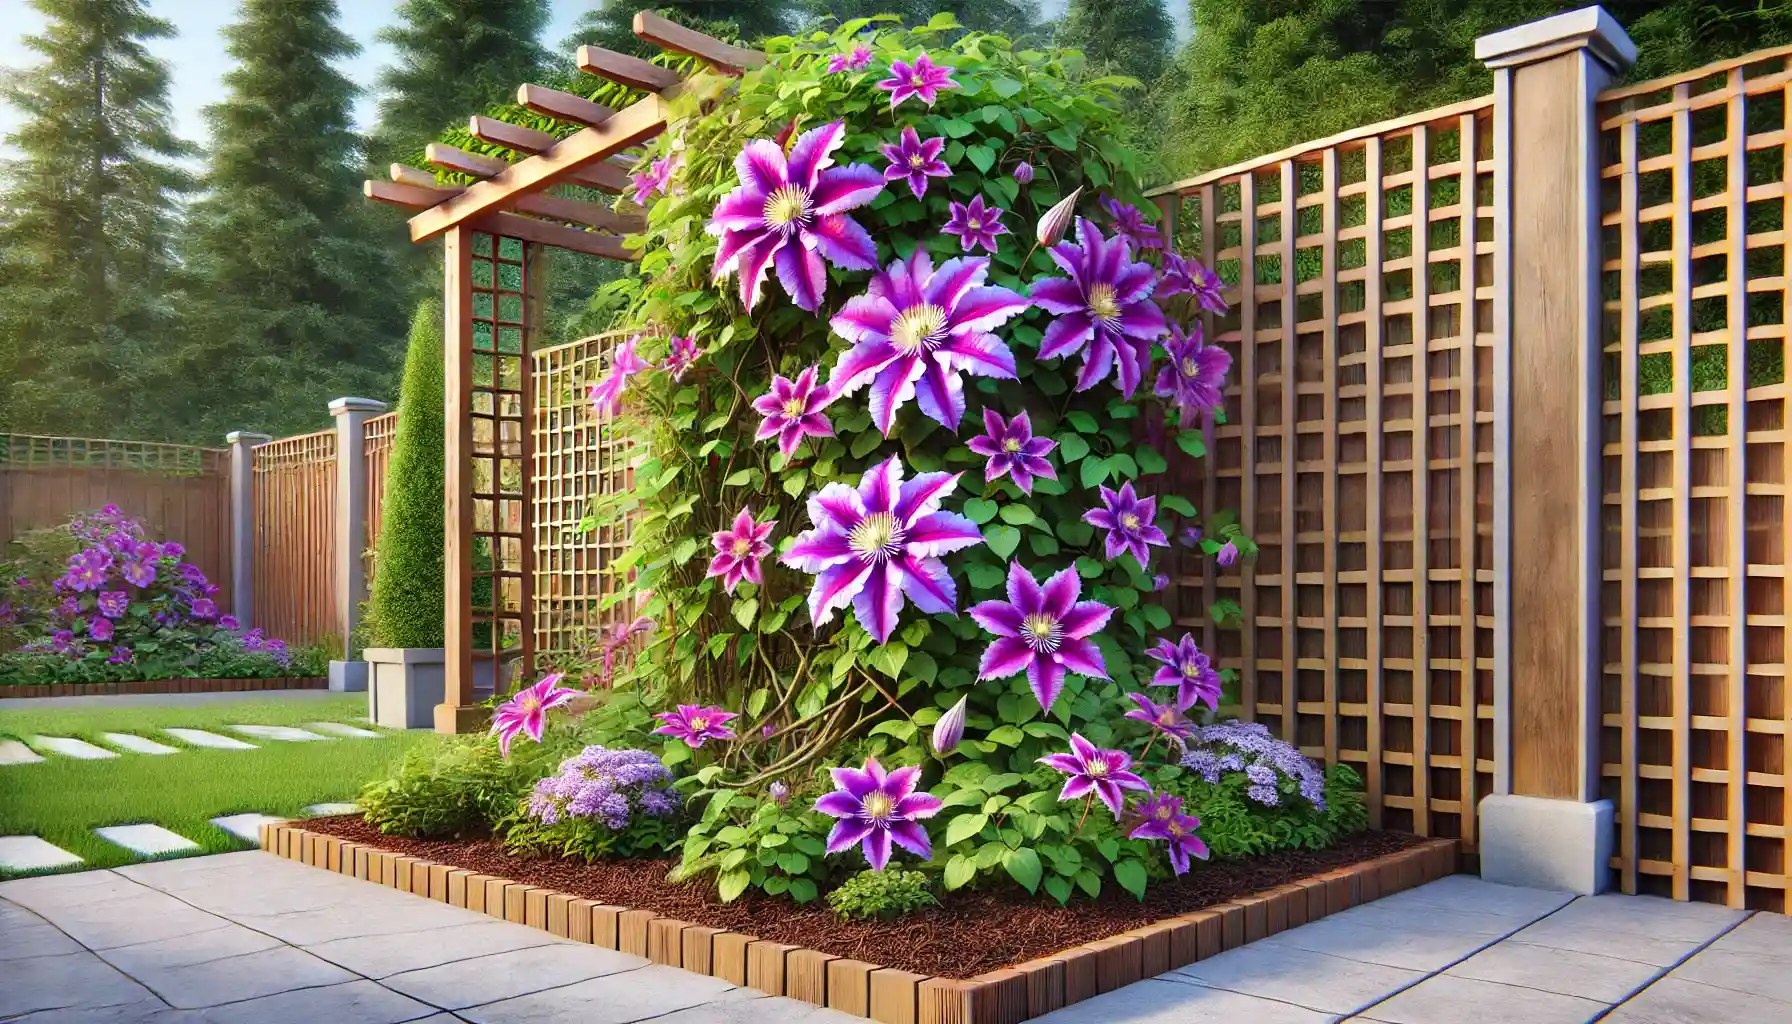
Providing Support for Climbing
Clematis is a natural climber, and proper support is crucial for its growth and flower display. Without adequate support, the plant may struggle to climb, leading to poor air circulation and fewer blooms.
Ideal Support Structures
Trellises: Trellises are a popular choice, allowing clematis to climb gracefully while providing a striking visual feature.
Fences or Walls: Use netting or wire to help clematis grip vertical surfaces.
Obelisks and Arches: Perfect for adding height and interest to garden beds.
Pro Tip: Secure the clematis gently to the support structure with soft ties during early growth to guide it in the right direction.
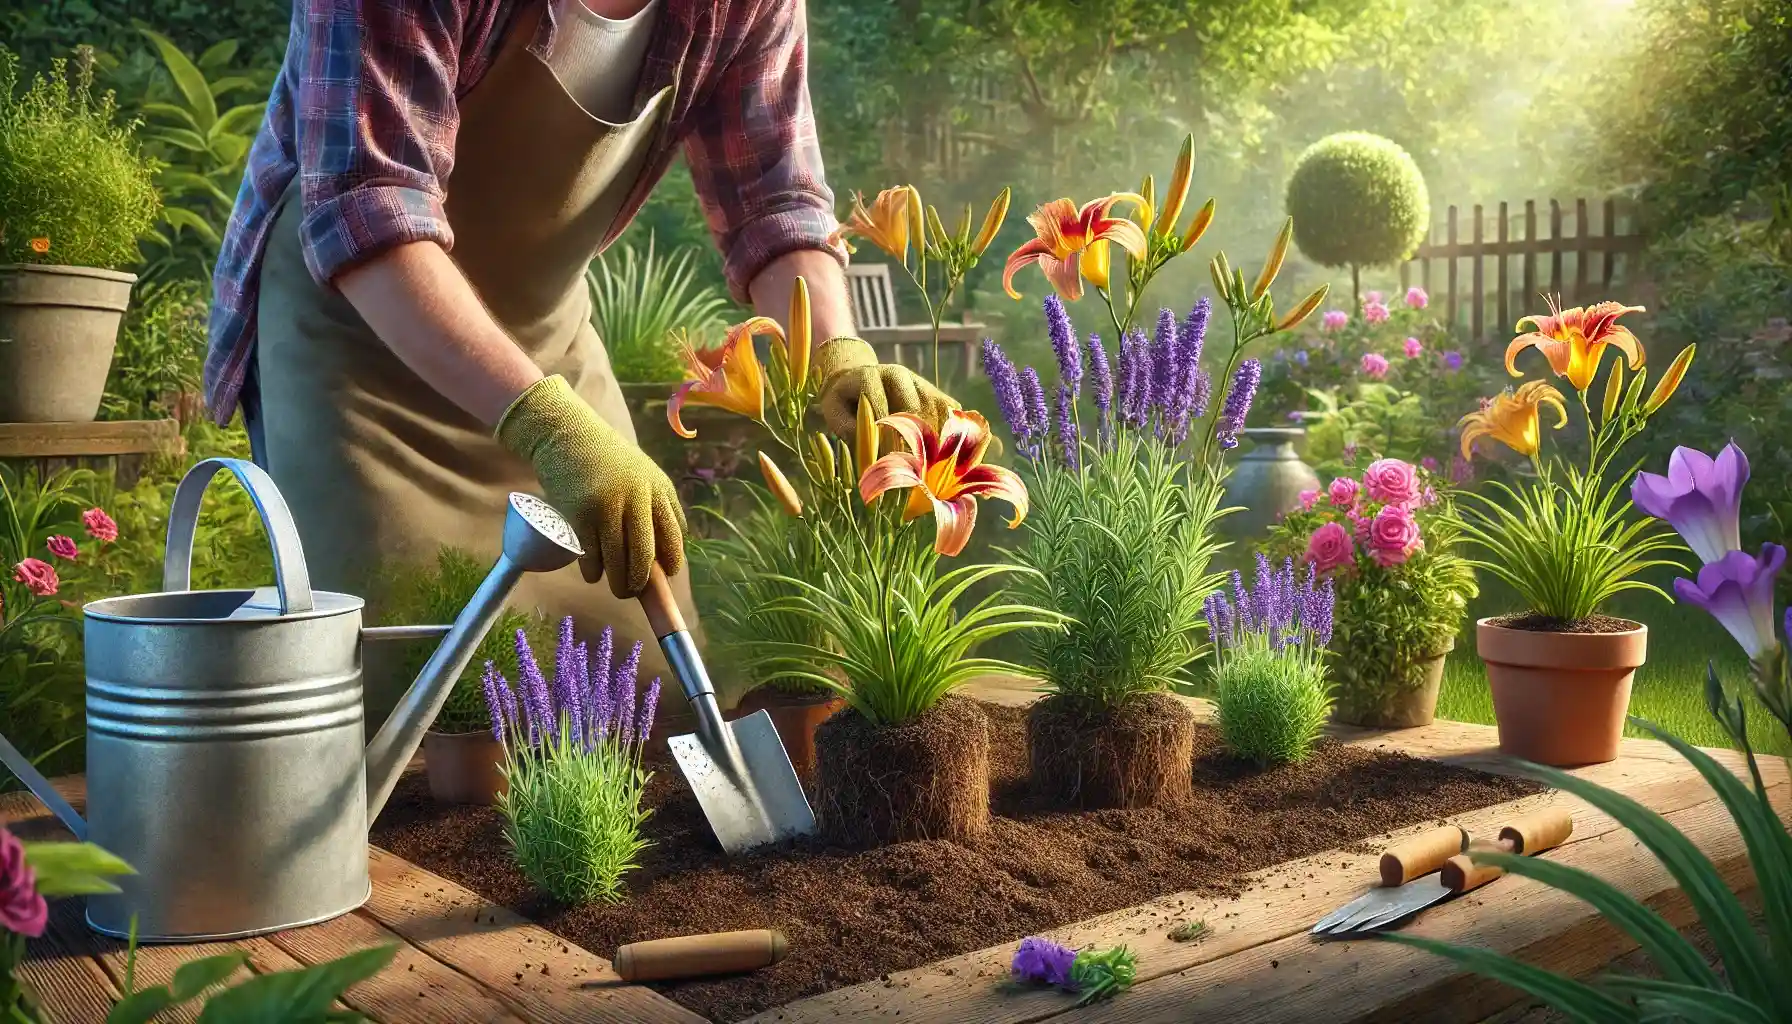
Planting Tips for Maximum Flowering
Proper planting techniques set the stage for a flourishing clematis:
Dig a Deep Hole: Clematis benefits from being planted deeply. Position the root ball so that the top of it is 2–3 inches below soil level. This encourages strong root development and protects the plant from diseases like clematis wilt.
Add Organic Material: Mix compost into the planting hole to provide nutrients.
Water Thoroughly: Water the plant well after planting to help settle the soil and reduce transplant shock.
Pro Tip: Avoid planting clematis in windy locations, as strong winds can damage tender shoots and reduce flowering.
Laying the Foundation for Abundant Blooms
By carefully selecting the right clematis variety, creating optimal growing conditions, and providing sturdy support, you’re setting the stage for a lush, flower-filled display. These foundational steps will ensure that your clematis not only grows healthily but also produces the vibrant blooms that make it a standout feature in any garden.
Feeding Your Clematis: The Right Nutrition for Abundant Blooms
Clematis is a "hungry feeder," meaning it thrives on a steady supply of nutrients to fuel its growth and flower production. Without proper feeding, plants may produce weak stems or sparse blooms, which can be disappointing for gardeners.
Key Nutrients for Clematis
Potassium-Rich Fertilizer: Clematis benefits from fertilizers with a higher potassium content, such as a 5-10-10 NPK formula. Potassium promotes flowering and overall plant vigor.
Balanced Fertilizer: Early in the growing season, use a balanced fertilizer (e.g., 10-10-10) to support strong initial growth.
Feeding Schedule
Early Spring: Apply a balanced fertilizer as new growth emerges. This encourages healthy shoots and prepares the plant for the blooming season.
Mid-Spring to Early Summer: Switch to a potassium-rich fertilizer to promote flower production. Apply every 4–6 weeks during the growing season.
Mid-Summer: Use a diluted liquid fertilizer to sustain flowering, especially for Group 3 clematis, which bloom later in the season.
Pro Tip: Avoid fertilizers high in nitrogen, as they encourage foliage growth at the expense of flowers.
Pruning Clematis: A Vital Step for Lush Flowering
Pruning is one of the most critical practices for clematis care, as it directly impacts flowering performance. However, pruning requirements vary depending on the clematis group, so understanding your plant's category is essential.
Group-Specific Pruning Techniques
Group 1 (Early-Flowering Clematis):
Blooming Habit: Flowers on old wood (previous year’s growth).
When to Prune: Immediately after flowering.
How to Prune: Remove dead or damaged stems and shape the plant to maintain a tidy appearance.
Group 2 (Large-Flowered Hybrids):
Blooming Habit: Flowers on both old and new growth.
When to Prune: Light pruning in late winter or early spring before growth starts.
How to Prune: Remove weak or damaged stems and trim back healthy stems by a few inches to encourage fresh growth.
Group 3 (Late-Flowering Clematis):
Blooming Habit: Flowers on new wood (current season’s growth).
When to Prune: Early spring, before new growth begins.
How to Prune: Cut back all stems to about 12 inches from the ground, leaving a few healthy buds on each stem.
Pro Tip: Always use sharp, clean pruning tools to prevent the spread of disease and ensure clean cuts that heal quickly.
Why Pruning Matters
Proper pruning stimulates fresh growth, prevents overcrowding, and encourages the plant to direct its energy toward flowering rather than sustaining old, unproductive stems. Pruning at the wrong time or neglecting it altogether can result in reduced blooms or a tangled, unhealthy plant.
Watering Practices: Consistency is Key
Watering clematis correctly is essential for healthy growth and vibrant blooms. While clematis enjoys consistent moisture, overwatering can lead to root rot, and underwatering can cause stress that hinders flowering.
How to Water Clematis
Newly Planted Clematis:
Water deeply every 2 weeks for the first 3 months to establish strong roots.
Established Clematis:
Water deeply once a week during dry spells, ensuring the soil remains consistently moist but not waterlogged.
Summer Watering:
Increase watering frequency during hot, dry weather, as clematis roots are sensitive to heat and drought stress.
Pro Tip: Use mulch around the base of the plant to retain soil moisture and regulate temperature, especially during summer.
Common Watering Mistakes to Avoid
Overwatering:
Excessive water can lead to root rot and fungal diseases. Always check the soil moisture before watering.
Underwatering:
Clematis cannot thrive in dry conditions. Ensure the soil remains consistently moist, especially during the growing season.
Watering the Foliage:
Wet leaves can encourage fungal diseases like clematis wilt. Water at the base of the plant instead.
Ensuring Long-Lasting Blooms
By combining proper feeding, strategic pruning, and consistent watering practices, you provide clematis with the care it needs to flourish. These steps not only promote lush flowering but also ensure that your plant remains healthy and resilient throughout the growing season.
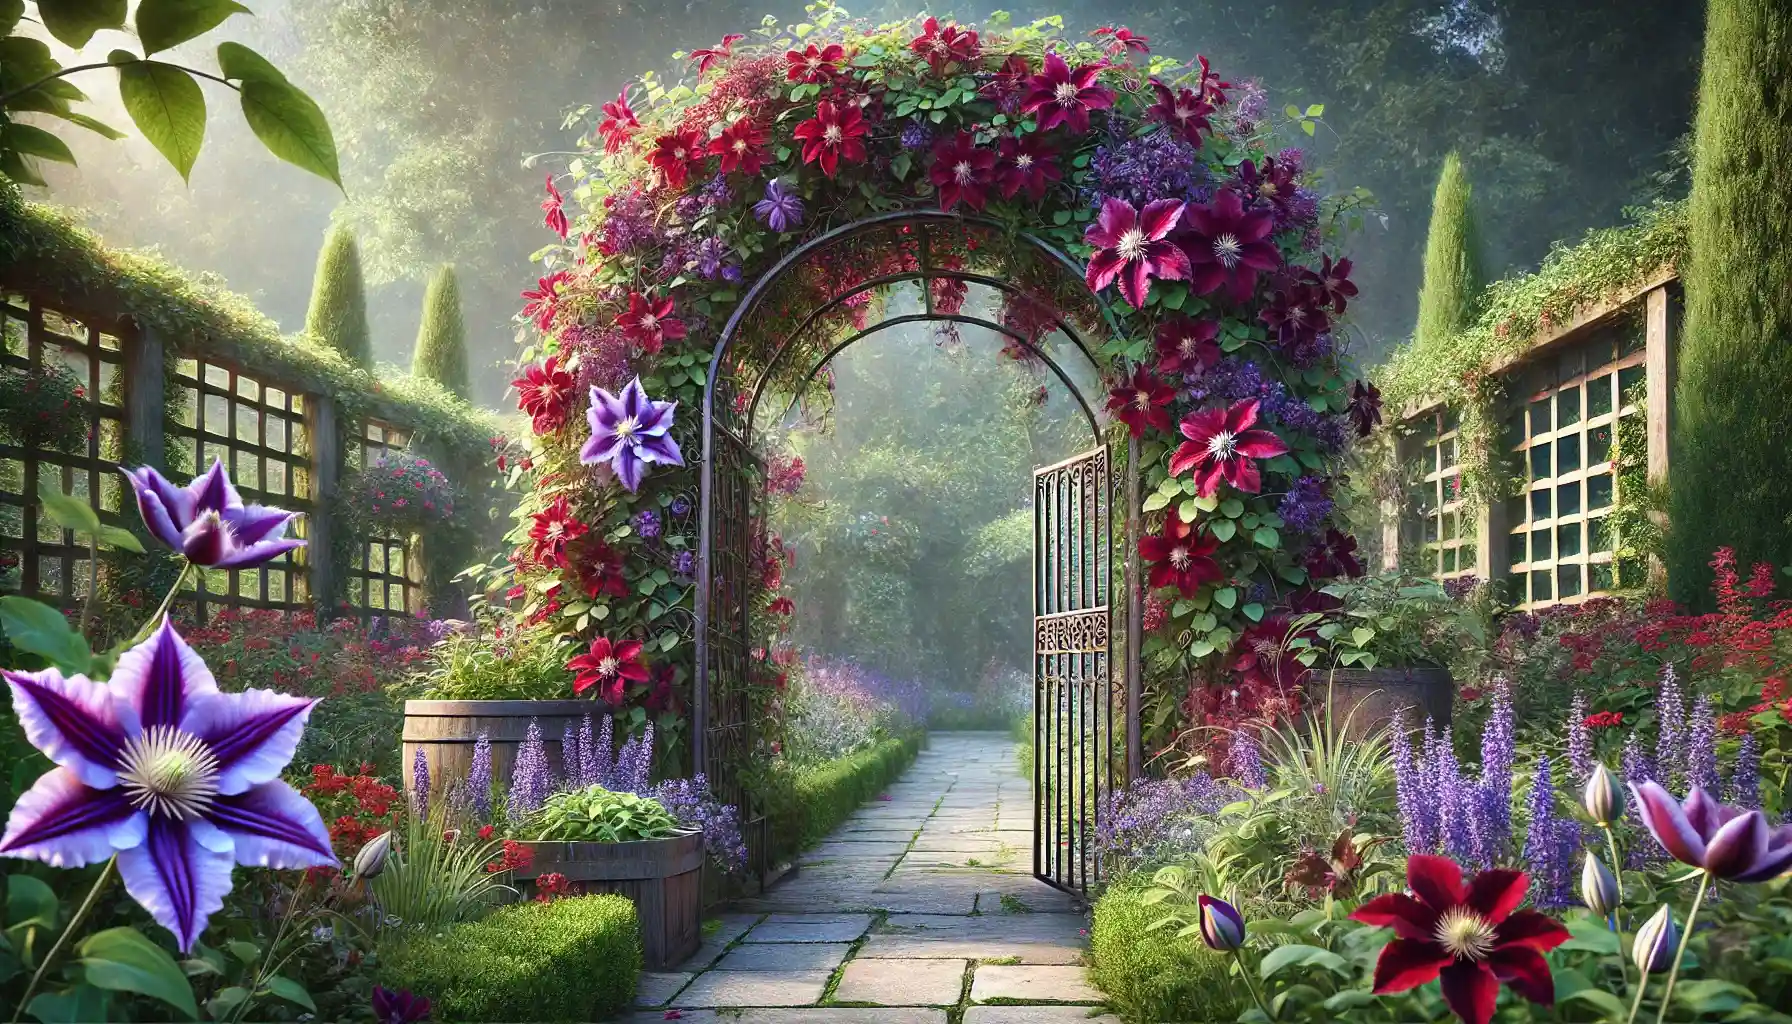
Supporting Your Clematis: Essential for Growth and Air Circulation
Clematis is a natural climber, relying on structures to support its upward growth. Without proper support, the plant may become tangled or fail to achieve the dramatic vertical display that makes it a garden favorite.
Types of Support Structures
Trellises:
Ideal for guiding clematis growth in a controlled manner.
Available in various sizes and materials, trellises allow for easy training and showcase the blooms beautifully.
Arches and Pergolas:
Perfect for creating striking garden features.
Allow clematis to climb and cascade, forming an eye-catching canopy of flowers.
Fences and Walls:
Clematis can be trained to climb fences or walls using netting, wire, or lattice.
These supports also provide excellent air circulation, which helps prevent diseases.
Obelisks and Garden Poles:
Compact solutions for smaller gardens or container-grown clematis.
Provide vertical interest without taking up much space.
How to Train Clematis
Early Growth Training: Use soft ties to secure young shoots to the support structure.
Encourage Spreading: Gently guide stems in the desired direction to create an even, balanced display.
Prevent Overcrowding: Regularly check for overlapping stems and adjust as needed to promote good air circulation.
Pro Tip: When installing a support structure, ensure it is sturdy enough to hold the weight of a mature clematis, especially during peak blooming periods.
Pest and Disease Management: Protecting Your Blooms
While clematis is generally hardy, it can occasionally fall victim to pests and diseases that hinder its growth and flowering. Early detection and treatment are essential for maintaining a healthy plant.
Common Pests
Aphids:
Symptoms: Curling leaves, sticky residue, or black sooty mold.
Solution: Spray affected areas with insecticidal soap or neem oil. Introduce natural predators like ladybugs for long-term control.
Slugs and Snails:
Symptoms: Chewed leaves and stems, especially in young plants.
Solution: Use organic slug pellets or place copper tape around the base of the plant to deter these pests.
Common Diseases
Clematis Wilt:
Symptoms: Sudden wilting of stems and leaves, often due to fungal infections.
Solution: Remove and destroy infected stems immediately. Ensure proper air circulation around the plant to prevent recurrence.
Powdery Mildew:
Symptoms: White, powdery patches on leaves and stems.
Solution: Treat with a fungicide and ensure the plant receives adequate sunlight and air circulation.
Root Rot:
Symptoms: Yellowing leaves and stunted growth caused by overwatering or poorly drained soil.
Solution: Improve drainage by amending the soil with sand or gravel, and water only when necessary.
Pro Tip: Inspect your clematis regularly for signs of pests or diseases. Early intervention can save your plant and preserve its flowering potential.
Year-Round Care for Healthy Clematis
Lush flowering requires consistent care beyond the growing season. Proper attention during each phase of the year ensures that your clematis remains vigorous and ready to bloom again.
Seasonal Care Tips
Spring:
Apply a balanced fertilizer as new growth emerges.
Prune according to the clematis group to encourage healthy stems and abundant blooms.
Summer:
Water consistently to prevent drought stress.
Deadhead spent flowers to prolong blooming in some varieties.
Fall:
Cut back late-flowering varieties (Group 3) after blooming ends.
Apply mulch around the base to protect roots from winter cold.
Winter:
Protect clematis from frost by wrapping the base with burlap or horticultural fleece in colder regions.
Avoid overwatering dormant plants to prevent root rot.
Additional Tips for Long-Term Success
Rotate Fertilizer Types: Alternate between slow-release granular fertilizers and water-soluble options to ensure consistent nutrient availability.
Mulch Regularly: A layer of organic mulch not only conserves moisture but also enriches the soil as it decomposes.
Check Supports Annually: Inspect and repair any support structures to ensure they can handle the plant’s growth in the next season.
Pro Tip: Keep a gardening journal to track your clematis’s progress, noting bloom times, pruning dates, and any pest or disease issues for future reference.
Conclusion: Your Guide to Spectacular Clematis Blooms
Clematis is a rewarding plant that brings beauty and drama to any garden. By selecting the right variety, providing optimal care, and addressing its unique needs for feeding, pruning, watering, and support, you can enjoy a spectacular display of flowers year after year.
Remember, gardening is a journey. Every season offers an opportunity to learn and refine your approach, ensuring your clematis thrives and becomes the highlight of your garden. With the tricks and tips outlined in this guide, you’re well on your way to achieving the lush flowering of clematis that every gardener dreams of.
GardenGuru is here to inspire and support you with all your gardening needs—start your clematis journey today!

Leave a Comment