Perennial Flowers That Benefit from Spring Transplanting
Understanding Spring Transplanting and Its Benefits
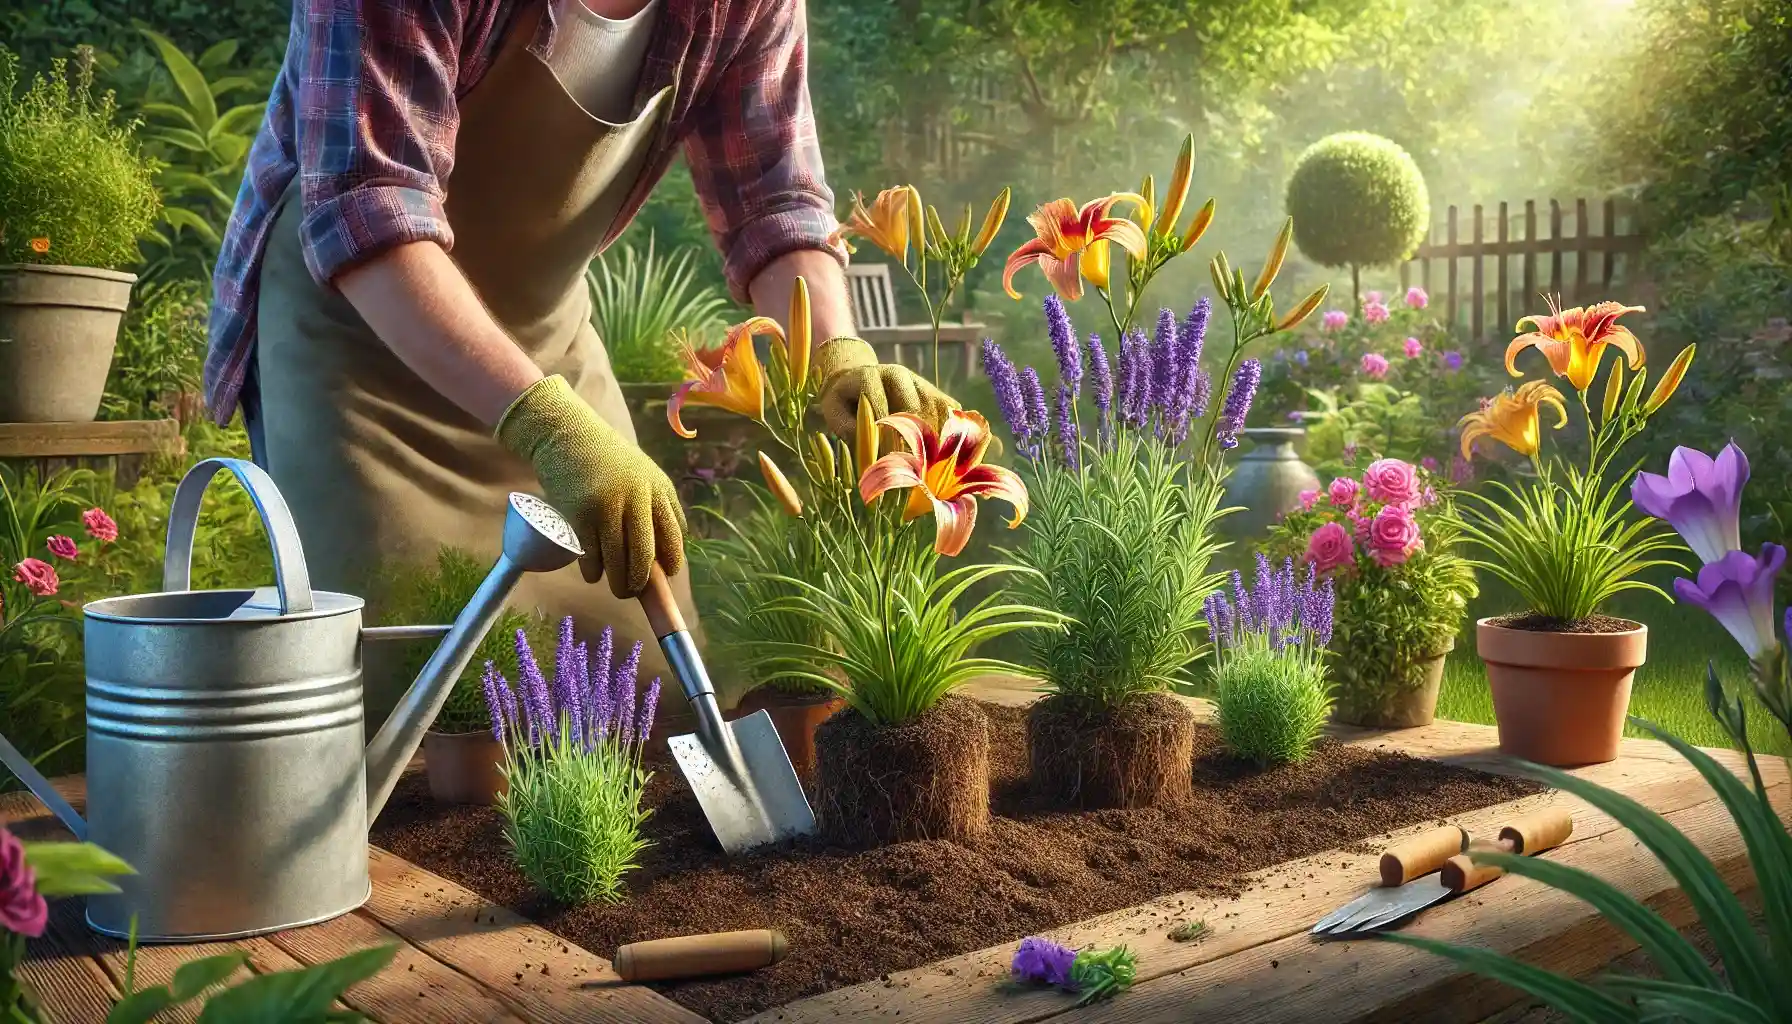
Spring is a season of renewal, making it the perfect time to give your perennial flowers a fresh start. Transplanting perennials in spring not only helps rejuvenate your garden but also promotes healthier growth and vibrant blooms. In this guide, we’ll explore the perennial flowers that thrive with spring transplanting and provide practical tips to ensure successful results.
Why Transplant Perennials in Spring?
Transplanting perennials during the spring offers several advantages that set your garden up for success:
Active Growth Phase: In spring, plants are coming out of dormancy, which means they’re actively growing. This makes it easier for them to recover from transplant shock and establish roots in their new location.
Moderate Temperatures: The cooler temperatures of spring provide an ideal environment for root development, minimizing stress on the plant.
Moist Soil Conditions: Spring rain helps maintain consistent soil moisture, which is critical for newly transplanted perennials to thrive.
Improved Garden Design: Spring transplanting allows you to rearrange your garden layout, fill gaps, or create a more balanced design before the peak growing season.
Daylilies (Hemerocallis): A Transplant-Friendly Favorite
Description:
Daylilies are a gardener’s delight, known for their vibrant, trumpet-shaped blooms and resilience. These perennials can adapt to a wide range of soil and climate conditions, making them ideal candidates for spring transplanting.
Benefits of Spring Transplanting:
Transplanting daylilies in spring gives their roots ample time to establish before the intense heat of summer.
Dividing and moving daylilies in early spring ensures they remain healthy and prevents overcrowding, which can reduce blooming.
How to Transplant Daylilies:
Dig up the clump carefully, ensuring you don’t damage the roots.
Divide the clump into smaller sections with at least three shoots per division.
Replant the divisions in a sunny location with well-drained soil.
Pro Tip: Mulch around the base of the plant to retain moisture and keep the roots cool as they establish.
Hostas: Shady Beauties That Thrive with Spring Moves
Description:
Hostas are prized for their lush foliage and delicate flowers, making them a staple in shade gardens. Transplanting hostas in spring ensures they adapt quickly to their new location.
Benefits of Spring Transplanting:
Hostas are actively growing in spring, allowing them to recover faster from the move.
Early transplanting helps them establish roots before the summer heat slows their growth.
How to Transplant Hostas:
Use a sharp spade to dig around the plant, lifting it with the root ball intact.
Divide larger clumps into smaller sections, ensuring each has a healthy set of roots.
Replant the divisions in a shaded or partially shaded area with rich, well-drained soil.
Pro Tip: Water thoroughly after transplanting to eliminate air pockets and help the roots settle.
Irises: Stunning Spring Divas
Description:
Irises produce striking flowers in a range of colors, adding elegance to any garden. These perennials benefit from division and transplanting in early spring when they begin to sprout.
Benefits of Spring Transplanting:
Moving irises in spring promotes vigorous growth and prevents overcrowding, which can lead to reduced flowering.
Early transplanting ensures they are well-established before their blooming period.
How to Transplant Irises:
Gently dig up the rhizomes (underground stems) without damaging the roots.
Trim any damaged or diseased sections of the rhizomes.
Replant in a sunny location, spacing the rhizomes 12–18 inches apart to allow room for growth.
Pro Tip: Avoid planting irises too deeply. Keep the top of the rhizomes slightly exposed to prevent rot.
Peonies: Large Blooms, Perfect Timing
Description:
Peonies are beloved for their large, fragrant flowers that bloom in late spring and early summer. These perennials prefer to be moved only when necessary, and spring is an excellent time if done carefully.
Benefits of Spring Transplanting:
Transplanting peonies in spring helps them settle into their new location before blooming begins.
Dividing and replanting older peony clumps can rejuvenate the plant and enhance flower production.
How to Transplant Peonies:
Dig up the plant carefully, ensuring you capture as much of the root system as possible.
Divide the clump into sections with at least 3–5 healthy buds (eyes) each.
Replant the divisions in a sunny location, ensuring the buds are no more than 1–2 inches below the soil surface.
Pro Tip: Peonies can be slow to re-establish, so be patient—your efforts will pay off with stunning blooms in the following seasons.
Coneflowers (Echinacea): Pollinator Magnets
Description:
Coneflowers are hardy perennials celebrated for their daisy-like blooms and ability to attract pollinators like bees and butterflies. These low-maintenance plants are perfect for adding color and life to any garden.
Benefits of Spring Transplanting:
Moving coneflowers in spring allows their roots to establish before the peak heat of summer.
Transplanting can help reduce overcrowding, which can stifle growth and flowering.
How to Transplant Coneflowers:
Select a sunny location with well-draining soil.
Carefully dig up the plant, ensuring you preserve as much of the root system as possible.
Replant at the same depth as before and water thoroughly to help the roots settle.
Pro Tip: Add a layer of mulch around the base to retain soil moisture and keep weeds at bay.
Sedum: Succulent Charm
Description:
Sedum varieties are beloved for their succulent leaves and vibrant flowers that bloom late in the season. These drought-tolerant perennials thrive in sunny, well-drained conditions, making them ideal for rock gardens or borders.
Benefits of Spring Transplanting:
Spring provides the moisture sedum needs to establish its shallow roots.
Transplanting helps rejuvenate older plants, encouraging fresh growth and better blooms.
How to Transplant Sedum:
Choose a sunny location with sandy or gravelly soil to mimic its natural habitat.
Dig up the plant, taking care not to damage the fragile roots.
Divide larger clumps if necessary, and replant with adequate spacing to prevent overcrowding.
Pro Tip: Sedum is highly drought-tolerant, so avoid overwatering after transplanting. Let the soil dry out slightly between waterings.
Yarrow (Achillea): A Summer Bloomer
Description:
Yarrow is known for its feathery foliage and clusters of small flowers in various colors. This resilient perennial is a favorite in pollinator gardens and wildflower meadows, thanks to its ability to thrive in challenging conditions.
Benefits of Spring Transplanting:
Early transplanting promotes vigorous growth and ensures a healthy display of flowers throughout summer.
Dividing and moving yarrow prevents it from becoming invasive or overly dominant in the garden.
How to Transplant Yarrow:
Select a sunny location with well-drained soil. Yarrow thrives in poor soil conditions, so avoid adding excessive organic matter.
Dig up the plant and divide it into smaller clumps with 3–5 shoots each.
Replant the divisions, spacing them at least 12–18 inches apart to allow for spreading.
Pro Tip: Deadhead yarrow flowers during the growing season to encourage continuous blooming.
Lavender: Aromatic Elegance
Description:
Lavender is a garden classic, prized for its fragrant flowers and silvery foliage. While it’s often associated with Mediterranean climates, lavender adapts well to many garden settings when provided with proper care.
Benefits of Spring Transplanting:
Transplanting lavender in spring gives it time to establish roots before summer’s heat.
Relocating lavender can improve air circulation and prevent fungal issues that often plague crowded plants.
How to Transplant Lavender:
Choose a sunny, well-drained location—lavender doesn’t tolerate wet feet.
Dig up the plant carefully, keeping as much of the root system intact as possible.
Replant at the same depth, ensuring good airflow around the plant.
Pro Tip: After transplanting, prune back about one-third of the plant to reduce stress and encourage new growth.
Key Tips for Successful Transplanting
Spring transplanting offers the perfect balance of moderate temperatures and consistent soil moisture, but there are some essential practices to follow for the best results:
Prepare the New Site:
Ensure the new planting hole is ready before digging up the plant to minimize the time it spends out of the ground.
Amend the soil with compost or sand, depending on the plant’s specific needs.
Water Thoroughly:
Water the plant deeply after transplanting to settle the soil and help the roots establish.
Monitor Moisture Levels:
Newly transplanted perennials need consistent moisture to recover, but avoid overwatering, which can lead to root rot.
Mulch Smartly:
Add a layer of mulch around the base of the plant to retain soil moisture and regulate temperature. However, keep the mulch away from the stem to prevent rot.
Pro Tip: Transplant on a cloudy day or in the early morning to reduce stress on the plant caused by direct sunlight.
Additional Perennials That Benefit from Spring Transplanting
While we’ve covered some popular choices, there are more perennials that flourish when moved in spring. These plants adapt well to new locations and bring stunning beauty to your garden.
Bleeding Heart (Dicentra)
Description:
With delicate, heart-shaped flowers that dangle like pendants, bleeding hearts add a touch of elegance to shaded or woodland gardens.
Benefits of Spring Transplanting:
Moving bleeding hearts in spring allows them to establish roots before their summer dormancy.
Transplanting helps rejuvenate older plants and ensures consistent blooming.
How to Transplant Bleeding Hearts:
Dig up the plant carefully, preserving as much of the root system as possible.
Replant in a shaded location with well-drained, nutrient-rich soil.
Water thoroughly and add a layer of mulch to retain moisture.
Pro Tip: Avoid disturbing bleeding hearts once established, as they don’t respond well to frequent relocation.
Black-Eyed Susan (Rudbeckia)
Description:
Known for their cheerful yellow petals and dark centers, black-eyed Susans are pollinator favorites that thrive in sunny locations.
Benefits of Spring Transplanting:
Spring transplanting ensures they establish roots before their peak summer blooming period.
Dividing and moving black-eyed Susans prevents overcrowding and promotes healthier plants.
How to Transplant Black-Eyed Susans:
Divide large clumps into smaller sections with several shoots each.
Replant in a sunny location with well-drained soil, spacing them 18–24 inches apart.
Water well after transplanting to support root development.
Pro Tip: Deadhead spent blooms during the growing season to encourage continuous flowering.

Troubleshooting Common Transplanting Issues
Even with careful planning, transplanting perennials can sometimes present challenges. Here’s how to address common problems and ensure your plants thrive.
1. Wilting After Transplanting
Cause: Transplant shock due to root disturbance or inadequate watering.
Solution:
Water deeply and consistently to help the plant recover.
Provide temporary shade to reduce stress in sunny locations.
2. Stunted Growth
Cause: Poor soil conditions or insufficient nutrients.
Solution:
Enrich the soil with compost or a slow-release fertilizer before transplanting.
Monitor growth and apply a liquid fertilizer mid-season if needed.
3. Yellowing Leaves
Cause: Overwatering, underwatering, or nutrient deficiencies.
Solution:
Check soil moisture and adjust watering accordingly.
Test the soil pH and amend with lime or sulfur as needed to balance nutrients.
4. Failure to Bloom
Cause: Improper timing of transplanting or pruning.
Solution:
Ensure plants are moved in their appropriate season (spring for most perennials).
Avoid cutting back flowering shoots during transplanting.
Year-Round Care for Transplanted Perennials
Once your perennials are successfully transplanted, ongoing care is key to maintaining their health and beauty. Here are seasonal tips to keep your garden thriving:
Spring Care
Apply a balanced fertilizer to encourage strong initial growth.
Monitor soil moisture to support recovering roots.
Mulch around the base of plants to regulate temperature and retain moisture.
Summer Care
Water deeply during dry spells, focusing on the root zone.
Deadhead spent flowers to promote continuous blooming.
Watch for signs of pests or diseases and treat promptly.
Fall Care
Cut back perennials that require fall pruning, such as peonies and daylilies.
Apply a layer of mulch to protect roots from freezing temperatures.
Divide any overcrowded perennials to prepare for the next growing season.
Winter Care
Protect sensitive perennials, like lavender, with a layer of burlap or horticultural fleece in colder climates.
Avoid overwatering dormant plants to prevent root rot.
Pro Tip: Keep a gardening journal to track transplanting dates, plant health, and seasonal care routines. This helps you refine your approach for even better results in future seasons.
The Rewards of Spring Transplanting
Spring transplanting breathes new life into your garden, ensuring healthier plants, balanced designs, and a dynamic display of colors and textures. By moving and dividing perennials like coneflowers, sedum, yarrow, lavender, and others during their optimal season, you set them up for a thriving growing period.
When paired with diligent care and troubleshooting, your efforts will yield a vibrant, flourishing garden that rewards you with beauty and resilience year after year.
GardenGuru is here to support and inspire your gardening journey with expert advice and resources—start planning your spring transplanting today!


Leave a Comment