The Fundamentals of Maximizing Small Spaces in Urban Gardening
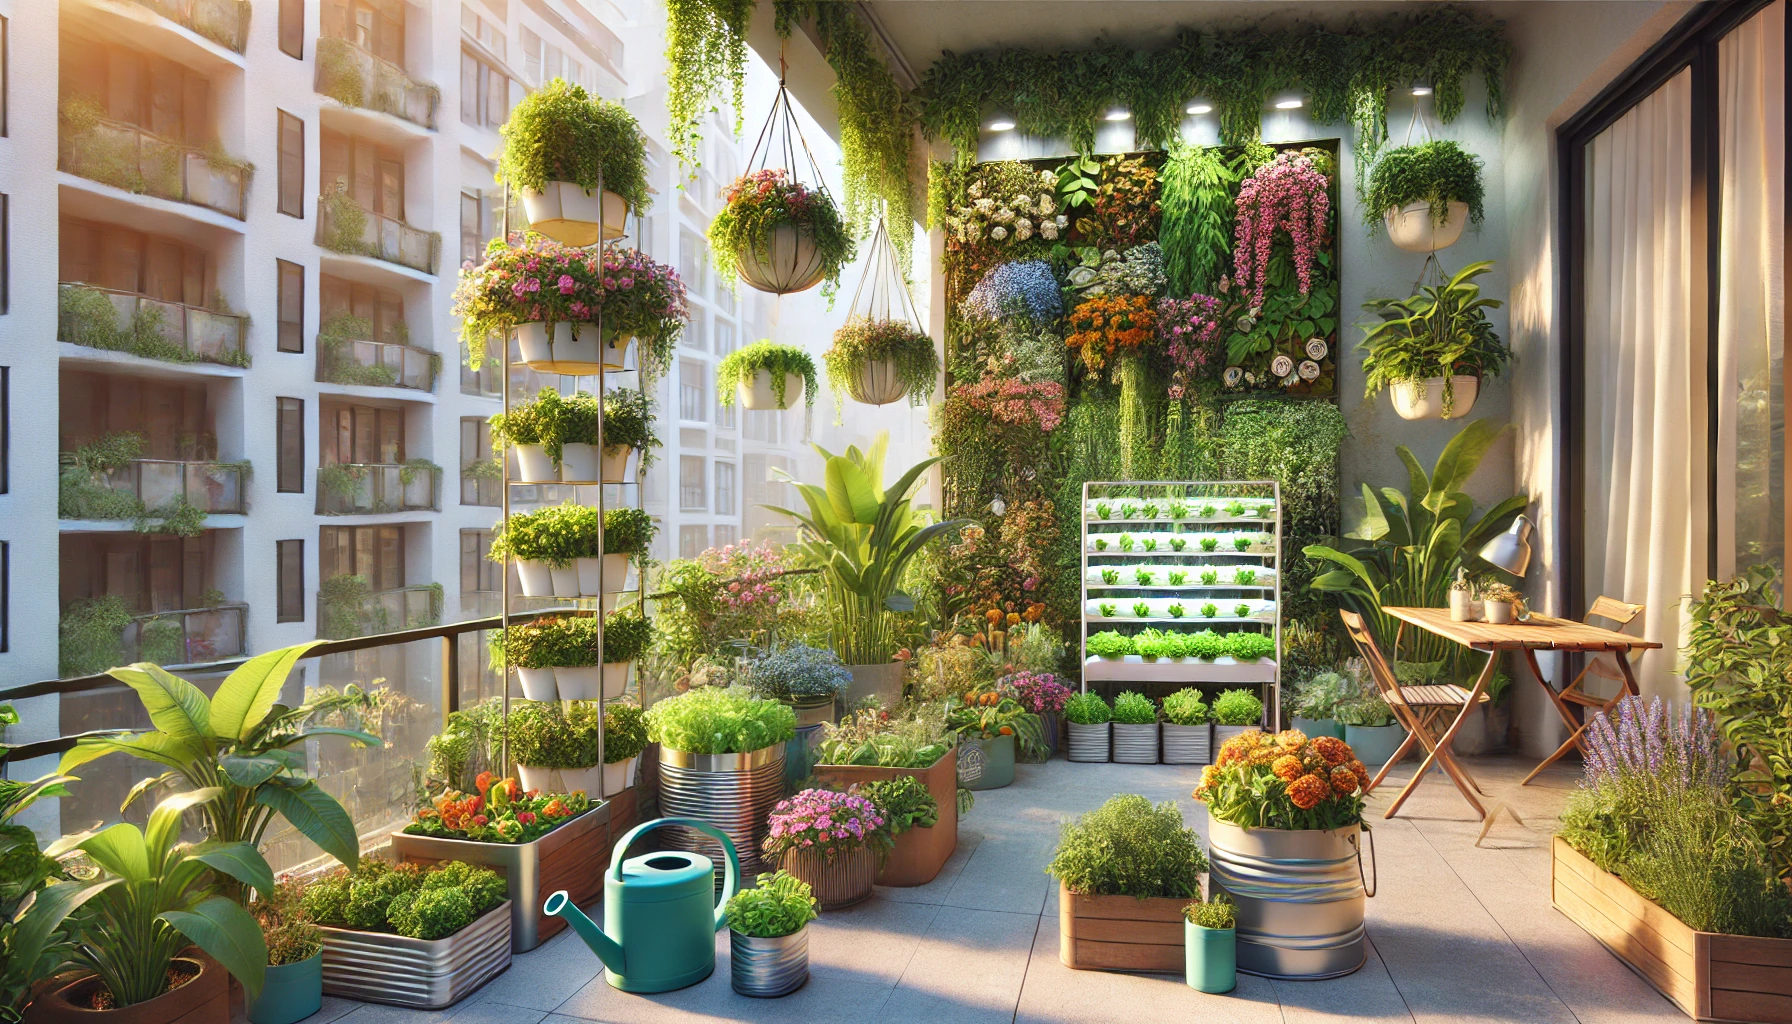
Urban gardening has become increasingly popular as more people seek to bring the benefits of greenery into their homes, even when space is limited. Whether you have a small balcony, a tiny patio, or just a windowsill, there are innovative gardening techniques that can help you create a beautiful and productive oasis right in the heart of the city. In this section, we'll explore the basics of maximizing space through vertical gardening and container gardening - two powerful strategies that allow you to grow a variety of plants even in the smallest areas.
Vertical Gardening: Reaching New Heights in Urban Spaces
Vertical gardening is a game-changer for urban gardeners working with limited horizontal space. By growing plants upward rather than outward, you can make the most of every square inch. This technique not only saves floor space but also adds a dynamic, eye-catching element to your garden, transforming bare walls and fences into lush, living canvases.
1. Why Vertical Gardening is Ideal for Small Spaces
Vertical gardening is particularly well-suited to urban environments where outdoor space is often at a premium. By utilizing vertical surfaces—such as walls, fences, or trellises—you can significantly expand your planting area without encroaching on valuable floor space. This is especially beneficial in densely populated cities, where balconies, patios, and small backyards are the norm.
Vertical gardening also offers practical benefits beyond just saving space. Plants grown vertically are easier to harvest, as they are at eye level and require less bending and stretching. This accessibility is not only convenient but also reduces the risk of back strain. Additionally, vertical gardens can help protect plants from common ground-level pests and diseases, which often thrive in crowded, humid conditions.
2. Setting Up Your Vertical Garden
To get started with vertical gardening, you’ll need to select the right structures and plants. Here are some key considerations:
Choose the Right Structure: There are various structures you can use for vertical gardening, depending on the space available and the plants you want to grow. Trellises, arbors, and pergolas are popular choices for supporting climbing plants like beans, peas, and cucumbers. Wall-mounted planters, hanging baskets, and pocket planters are ideal for smaller spaces and are perfect for growing herbs, strawberries, or ornamental flowers. If you’re short on wall space, consider using a freestanding ladder or tiered shelving to create vertical layers of greenery.
Select Suitable Plants: Not all plants are well-suited to vertical gardening, so it’s important to choose varieties that thrive in this environment. Climbing plants like tomatoes, cucumbers, and beans are obvious choices, as they naturally grow upwards and can be easily trained to climb a trellis or other support structure. Trailing plants like ivy, nasturtiums, and sweet potatoes are also great for vertical gardens, as they can cascade down from hanging baskets or elevated planters, adding visual interest.
For ornamental gardens, consider using vertical gardening to create a “living wall” by planting a mix of ferns, succulents, and flowering plants in pocket planters. This not only maximizes your vertical space but also enhances the aesthetic appeal of your garden by creating a lush, textured tapestry of colors and shapes.
3. Maintenance Tips for Vertical Gardens
While vertical gardening can be a low-maintenance option, it does require some specific care to ensure your plants thrive. Here are a few tips to keep in mind:
Watering: Vertical gardens can dry out more quickly than traditional gardens, especially if they are exposed to wind or direct sunlight. To keep your plants hydrated, consider installing a drip irrigation system that delivers water directly to the roots. This will minimize water waste and ensure consistent moisture levels. If a drip system isn’t feasible, be sure to water your plants regularly, paying close attention to the top and bottom tiers of your garden, which may dry out at different rates.
Fertilization: Because vertical gardens often have limited soil volume, it’s important to provide your plants with regular nutrients to support healthy growth. Use a balanced, water-soluble fertilizer and apply it according to the needs of the specific plants you’re growing. Slow-release fertilizers are also a good option, as they provide a steady supply of nutrients over time.
Pruning and Training: To keep your vertical garden looking neat and productive, regularly prune your plants to remove dead or damaged growth. For climbing plants, use soft ties or clips to gently train the vines to grow along the support structure. This will help prevent overcrowding and ensure that all parts of the plant receive adequate sunlight.
Container Gardening: Growing Abundance in Limited Spaces
Container gardening is another versatile technique that’s perfect for urban areas where traditional garden beds may not be an option. Whether you’re growing vegetables, herbs, or ornamental plants, containers allow you to create a thriving garden in even the smallest spaces. The beauty of container gardening lies in its flexibility—you can move containers around to take advantage of sunlight, experiment with different plant combinations, and even bring your garden indoors during colder months.
1. Advantages of Container Gardening in Urban Settings
Container gardening offers several advantages, making it an excellent choice for urban gardeners. First and foremost, it’s incredibly adaptable. Containers can be placed on balconies, patios, windowsills, and rooftops, allowing you to garden in spaces that would otherwise go unused. This flexibility also extends to plant selection, as nearly any plant can be grown in a container with the right care and conditions.
Another major benefit of container gardening is the ability to control the growing environment. Unlike traditional garden beds, which are subject to the whims of local soil conditions, containers allow you to customize the soil mix to suit the specific needs of your plants. This control extends to water management as well—containers with good drainage help prevent issues like root rot, and you can easily adjust your watering schedule based on the needs of your plants.
Container gardening is also an excellent way to introduce children or beginners to gardening. The confined space of a container makes it easier to manage and monitor, and the results are often more immediate and rewarding.
2. Choosing the Right Containers
The success of your container garden largely depends on selecting the right containers. Here are some factors to consider:
Size and Depth: The size and depth of your container should match the needs of the plants you intend to grow. For example, deep-rooted vegetables like tomatoes and carrots require large, deep containers, while herbs and leafy greens can thrive in smaller, shallower pots. As a general rule, the larger the container, the better it will retain moisture and support healthy root growth.
Material: Containers come in a variety of materials, each with its own pros and cons. Terracotta pots are porous and allow for good air circulation, but they can dry out quickly. Plastic containers are lightweight and retain moisture well but may not provide adequate drainage if not properly designed. Wooden containers offer a natural aesthetic and good insulation but can rot over time if not treated or lined. Consider the specific needs of your plants and the environmental conditions when choosing a material.
Drainage: Proper drainage is crucial in container gardening to prevent waterlogged soil and root rot. Make sure your containers have drainage holes at the bottom, and consider placing a layer of gravel or broken pottery at the base of the pot to improve drainage. If you’re using decorative containers without drainage holes, consider using them as outer pots and placing your plants in smaller, well-drained containers inside them.
3. Best Practices for Successful Container Gardening
To get the most out of your container garden, it’s important to follow some best practices:
Use High-Quality Potting Mix: Unlike garden soil, which can be heavy and compacted, potting mix is designed to be lightweight and well-draining, providing the ideal environment for container plants. Look for a high-quality potting mix that includes organic matter like compost or peat moss, which helps retain moisture and nutrients.
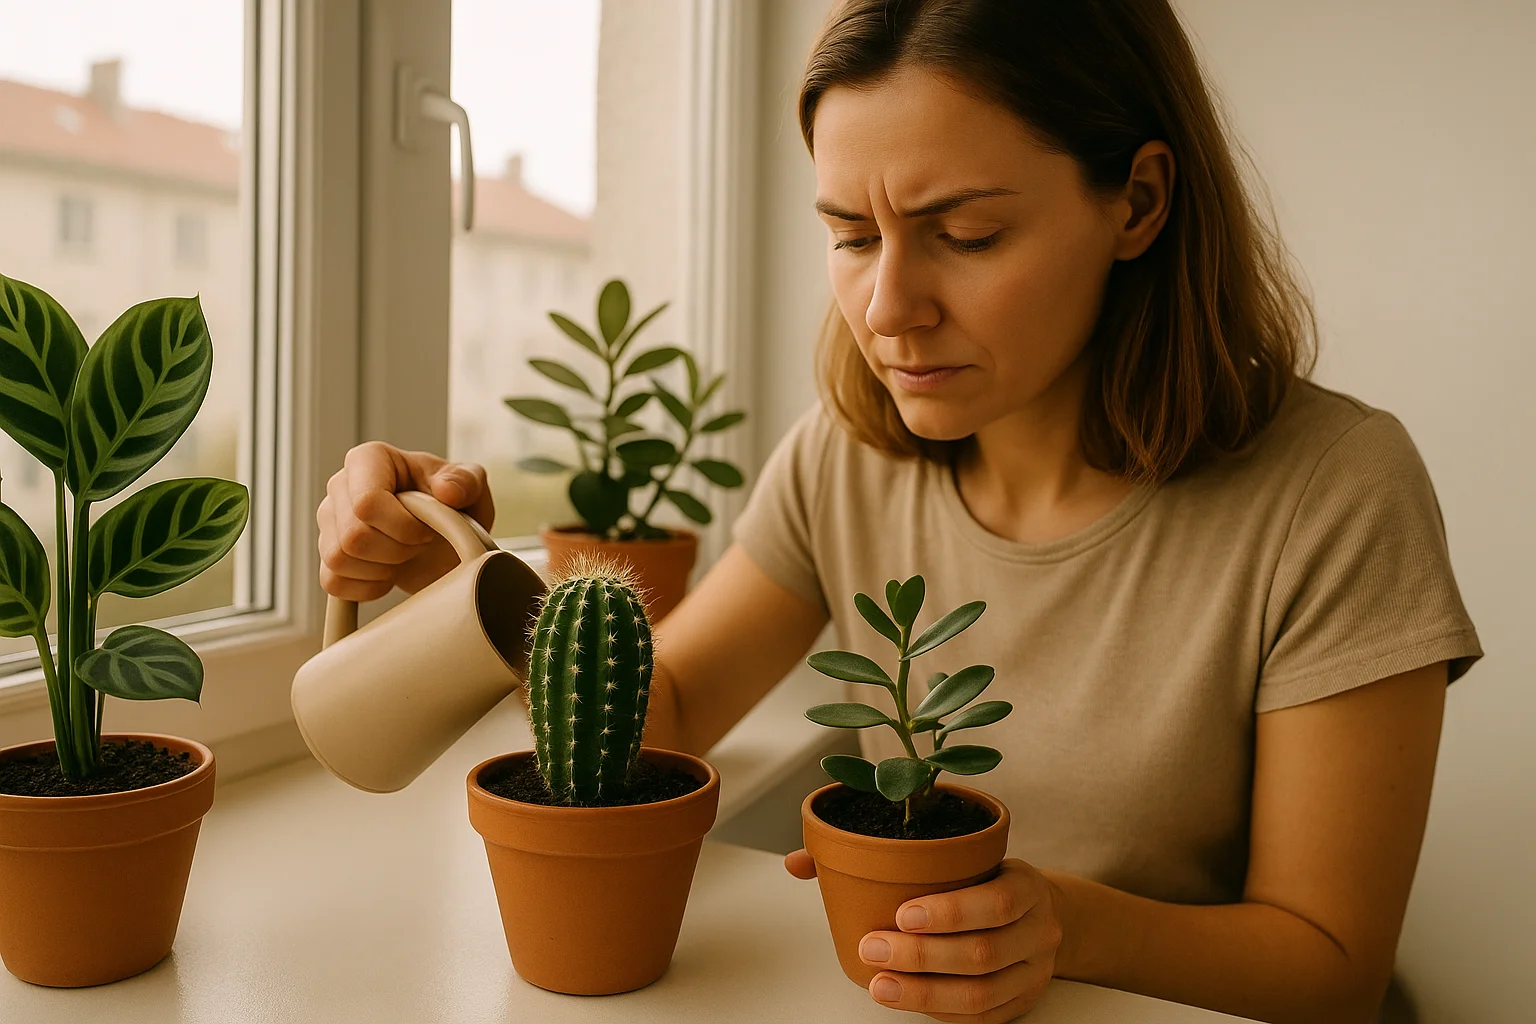
Regular Watering: Containers tend to dry out faster than garden beds, so regular watering is essential. Water your containers deeply, making sure that excess water drains out the bottom, and avoid letting the soil dry out completely between waterings. During hot weather, you may need to water your containers daily, especially if they are exposed to full sun.
Fertilize Consistently: Since container plants have limited access to nutrients, regular fertilization is key to keeping them healthy and productive. Use a balanced, water-soluble fertilizer every 2-4 weeks during the growing season, or incorporate slow-release fertilizer into the potting mix when planting.
Rotate and Rearrange: To ensure that all your plants receive adequate sunlight, consider rotating your containers periodically. This is particularly important for plants that require full sun, as the angle of sunlight can change throughout the day and the growing season. Additionally, rearranging your containers can refresh the look of your garden and help you identify any plants that may need extra care.
Advanced Techniques for Urban Gardening – Hydroponics, Aquaponics, and Companion Planting
As urban gardening evolves, gardeners are increasingly turning to advanced techniques that allow them to grow more plants in even less space. Hydroponics, aquaponics, and companion planting are three innovative methods that can maximize yields, improve plant health, and make the most of your small-space garden. In this section, we’ll explore these techniques in detail, offering practical advice on how to implement them in your urban garden.
Hydroponics: Growing Without Soil
Hydroponics is a soil-less gardening technique that uses nutrient-rich water to grow plants. This method is ideal for urban gardeners with limited space, as it can be set up indoors or in small outdoor areas. Hydroponics allows for year-round growing, produces higher yields, and uses less water than traditional soil gardening, making it a highly efficient way to cultivate plants in urban environments.
1. Understanding Hydroponics
In a hydroponic system, plants are grown in a soilless medium or directly in water, with their roots exposed to a nutrient-rich solution. This solution provides all the essential nutrients that plants would normally obtain from the soil. Because the plants have direct access to nutrients and oxygen, they can grow faster and produce more abundant yields compared to traditional soil-based gardening.
There are several types of hydroponic systems, including:
Deep Water Culture (DWC): Plants are suspended in a nutrient solution with their roots submerged in water. An air pump oxygenates the water to keep the roots healthy.
Nutrient Film Technique (NFT): A thin film of nutrient solution flows over the roots of plants in a sloped channel, providing them with nutrients and oxygen.
Drip System: A slow-drip system delivers nutrient solution directly to the roots of each plant, which are typically grown in a soilless medium like coconut coir or perlite.
Wick System: This passive system uses a wick to draw nutrient solution from a reservoir to the plant roots. It’s simple to set up and requires no pumps or electricity.
2. Setting Up a Hydroponic System
To get started with hydroponics, you’ll need a few key components:
Growing Containers: These hold the plants and can be anything from plastic buckets to specialized hydroponic trays.
Nutrient Solution: A balanced, water-soluble fertilizer designed specifically for hydroponics is essential to provide plants with the nutrients they need.
Water Pump and Air Pump: Depending on your chosen system, you may need a water pump to circulate the nutrient solution and an air pump to oxygenate it.
Light Source: If you’re growing indoors, you’ll need a grow light to provide plants with the necessary light for photosynthesis. LED grow lights are energy-efficient and effective for hydroponic systems.
Growing Medium: Although hydroponics is soil-less, some systems use a growing medium like coconut coir, perlite, or vermiculite to support the plants and retain moisture.
Once your system is set up, you can begin growing a wide range of plants, from leafy greens and herbs to tomatoes and peppers. Regularly monitor the nutrient levels and pH of your solution to ensure optimal plant growth.
3. Benefits and Challenges of Hydroponics
Hydroponics offers several advantages for urban gardeners:
Space Efficiency: Hydroponic systems can be stacked vertically or placed on shelves, maximizing space in small areas.
Water Conservation: Hydroponics uses up to 90% less water than traditional gardening because water is recirculated within the system.
Faster Growth: Plants grow faster in hydroponic systems due to the direct access to nutrients and oxygen.
Year-Round Growing: Hydroponics can be done indoors, allowing for continuous growing throughout the year, regardless of the season.
However, hydroponics also comes with some challenges:
Initial Setup Cost: Setting up a hydroponic system can be more expensive than traditional gardening, although costs can be mitigated with DIY solutions.
Technical Knowledge: Hydroponics requires an understanding of nutrient management, pH levels, and system maintenance.
Power Dependence: Most hydroponic systems rely on electricity to run pumps and lights, which can be a drawback during power outages.
Despite these challenges, hydroponics is a rewarding way to grow a wide variety of plants in small urban spaces, making it an excellent choice for dedicated urban gardeners.
Aquaponics: Combining Fish and Plants
Aquaponics takes hydroponics a step further by incorporating fish into the system. In an aquaponic system, fish waste provides the nutrients needed for plant growth, while the plants filter and purify the water for the fish. This symbiotic relationship creates a closed-loop system that is highly sustainable and efficient, making it an ideal solution for urban gardeners looking to maximize their yields in limited space.
1. How Aquaponics Works
In an aquaponic system, fish are raised in a tank, and their waste is rich in nutrients, particularly nitrogen. This nutrient-rich water is pumped from the fish tank to the plant beds, where it provides essential nutrients for plant growth. As the plants absorb these nutrients, they filter and clean the water, which is then recirculated back to the fish tank.
This system mimics natural ecosystems, where plants and aquatic life support each other. It’s a highly sustainable method of gardening because it recycles both water and nutrients, reducing the need for external inputs like fertilizers and minimizing waste.
2. Setting Up an Aquaponic System
To set up an aquaponic system, you’ll need the following components:
Fish Tank: The fish tank is the heart of the system, where fish are raised. Common fish species used in aquaponics include tilapia, goldfish, and koi.
Grow Beds: These are where your plants are grown. The grow beds are typically filled with a soilless medium like expanded clay pellets or gravel, which supports the plants and helps filter the water.
Water Pump and Air Pump: A water pump circulates water between the fish tank and grow beds, while an air pump provides oxygen to both the fish and the plants.
Biofilter: The biofilter is an essential component that converts fish waste (ammonia) into nitrates, a form of nitrogen that plants can absorb.
Light Source: If your system is indoors, you’ll need grow lights to provide adequate light for plant growth.
Aquaponics requires careful monitoring of water quality, including pH levels, temperature, and nutrient concentration, to ensure the health of both the fish and the plants. Regularly testing the water and adjusting conditions as needed will help maintain a balanced system.
3. Benefits and Challenges of Aquaponics
Aquaponics offers a range of benefits for urban gardeners:
Sustainable and Eco-Friendly: Aquaponics recycles water and nutrients, reducing waste and conserving resources.
High Yields: Aquaponics can produce high yields in a small space, making it ideal for urban environments.
Multiple Outputs: In addition to growing plants, aquaponics allows you to raise fish, providing two sources of food from a single system.
Low Water Usage: Like hydroponics, aquaponics uses significantly less water than traditional soil-based gardening.
However, aquaponics also presents some challenges:
Complexity: Aquaponics is more complex than other gardening methods, requiring knowledge of both plant and fish care.
Initial Investment: Setting up an aquaponic system can be costly, particularly if you need to purchase equipment like pumps, tanks, and grow lights.
Maintenance: Aquaponics requires regular monitoring and maintenance to ensure the health of the fish and plants, making it more labor-intensive than other methods.
Despite these challenges, aquaponics is a highly rewarding way to maximize small spaces in urban gardening, offering a sustainable and productive solution for those willing to invest the time and effort.
Companion Planting: Creating Synergy in Your Garden
Companion planting is a natural and effective way to maximize the productivity of your garden by strategically pairing plants that benefit each other. This technique is especially useful in small urban gardens, where space is limited, and every plant must pull its weight. By using companion planting, you can improve soil health, deter pests, and boost yields without the need for chemical inputs.
1. The Principles of Companion Planting
Companion planting works by taking advantage of the natural relationships between different plant species. Some plants, for example, release chemicals that repel pests, while others improve the soil by fixing nitrogen or attracting beneficial insects. By carefully selecting and pairing plants, you can create a mini-ecosystem that supports the health and productivity of your garden.
Here are some common examples of companion planting:
Tomatoes and Basil: Basil is known to improve the flavor of tomatoes and can also help repel pests like aphids and whiteflies.
Carrots and Onions: Onions deter carrot flies, while carrots help aerate the soil, making it easier for onions to grow.
Beans and Corn: Beans fix nitrogen in the soil, providing essential nutrients for corn. In return, corn offers support for bean vines to climb.
Marigolds and Almost Everything: Marigolds are a versatile companion plant that can repel a wide range of pests, including nematodes, aphids, and whiteflies. They can be planted alongside almost any vegetable to protect it from pests.
2. Implementing Companion Planting in Small Spaces
In small urban gardens, companion planting can be particularly effective because it allows you to make the most of limited space. Here are some tips for implementing companion planting in your urban garden:
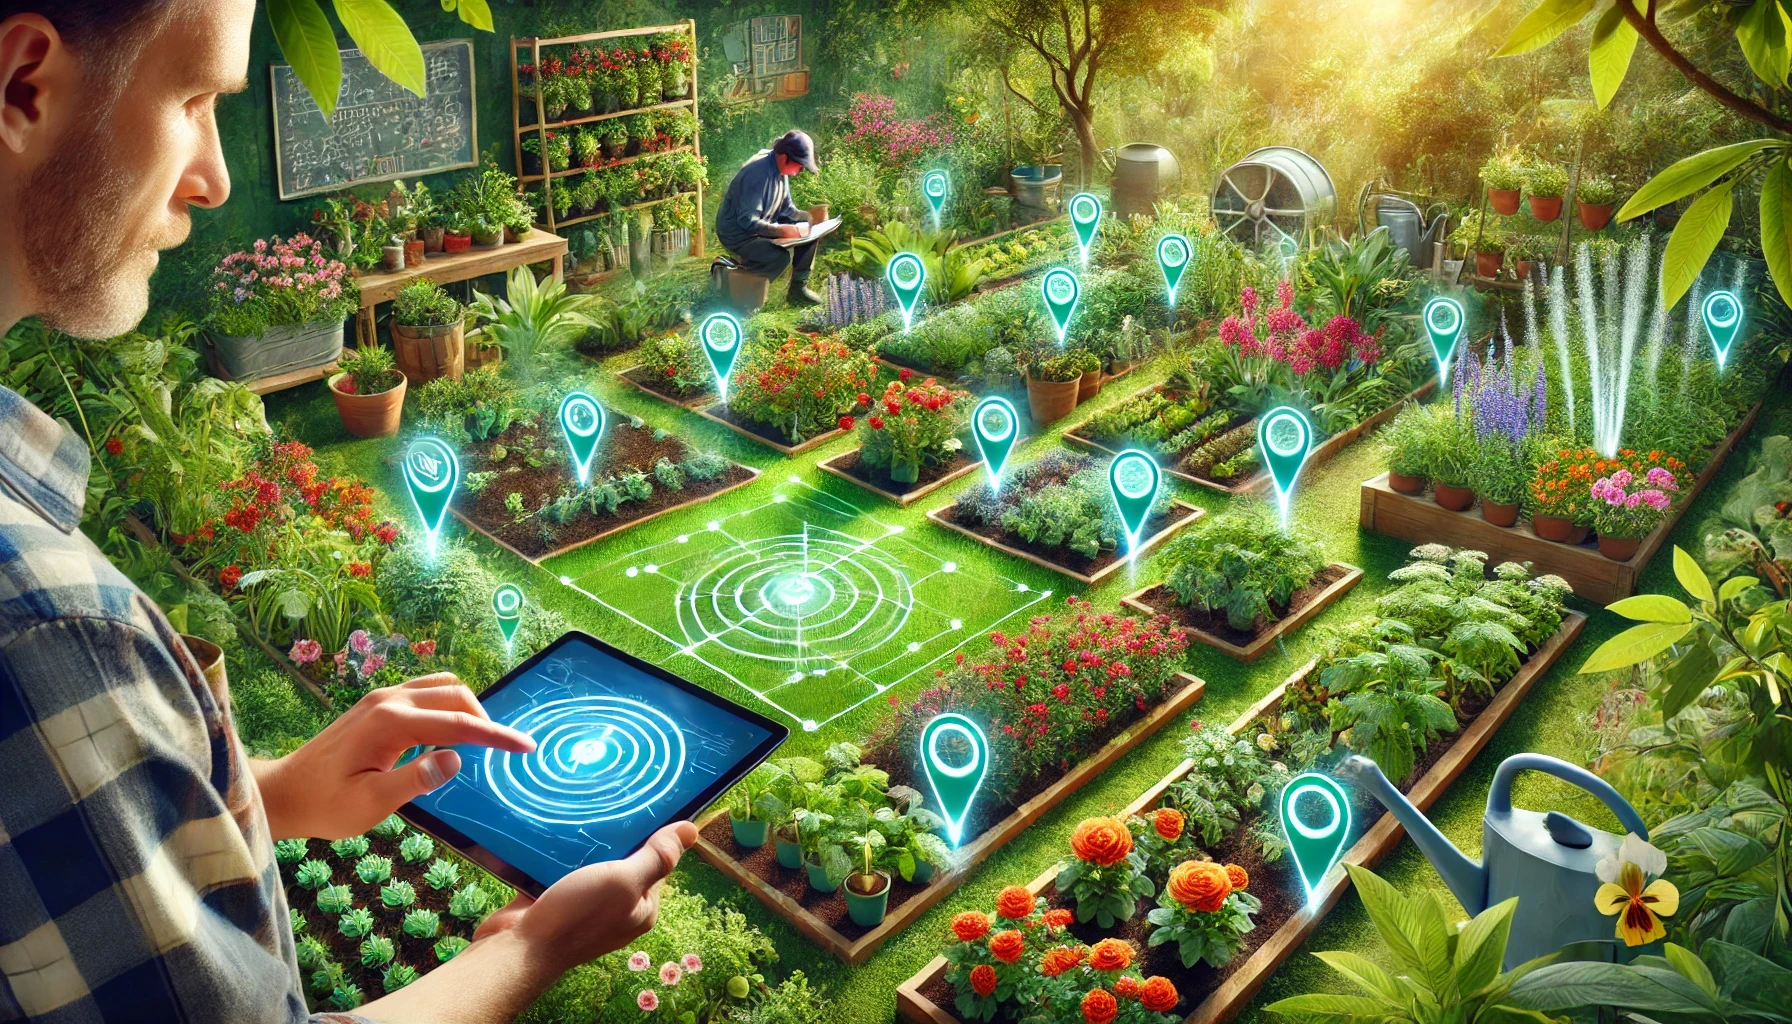
Plan Your Garden Layout: Before planting, take the time to plan your garden layout based on companion planting principles. Consider the needs of each plant, including sunlight, water, and nutrient requirements, and group compatible plants together.
Use Vertical Space: Companion planting can be combined with vertical gardening techniques to further maximize space. For example, you can plant climbing beans at the base of corn stalks, allowing the beans to use the corn as a natural trellis.
Incorporate Herbs and Flowers: Don’t overlook the value of herbs and flowers in companion planting. Herbs like basil, rosemary, and thyme can repel pests and enhance the growth of neighboring vegetables, while flowers like marigolds and nasturtiums add beauty and attract beneficial insects.
3. Benefits and Challenges of Companion Planting
Companion planting offers several benefits:
Natural Pest Control: By pairing plants that repel pests, you can reduce or eliminate the need for chemical pesticides.
Improved Soil Health: Some companion plants, like legumes, can improve soil fertility by fixing nitrogen or adding organic matter.
Increased Yields: Companion planting can boost the productivity of your garden by creating a more balanced and diverse ecosystem.
However, companion planting also requires careful planning and observation:
Trial and Error: Not all plant pairings will work in every garden, so it may take some experimentation to find the best combinations for your specific conditions.
Space Considerations: In small spaces, it’s important to ensure that companion plants have enough room to grow without competing with each other for resources.
Despite these challenges, companion planting is a highly effective way to enhance the health and productivity of your urban garden, making it an essential technique for maximizing small spaces.
Optimizing Urban Gardens with Raised Beds, Hugelkultur, and Additional Tips for Success
In the final section of our guide to maximizing small spaces in urban gardening, we’ll explore the benefits of raised beds and hugelkultur—two innovative techniques that can significantly enhance your gardening experience in limited spaces. Additionally, we’ll cover some final tips to help you maintain a thriving, productive urban garden throughout the growing season. These strategies will ensure that your garden not only survives but thrives, providing you with a bountiful harvest and a beautiful green space, no matter how small your gardening area may be.
Raised Beds: Maximizing Space and Improving Soil Quality
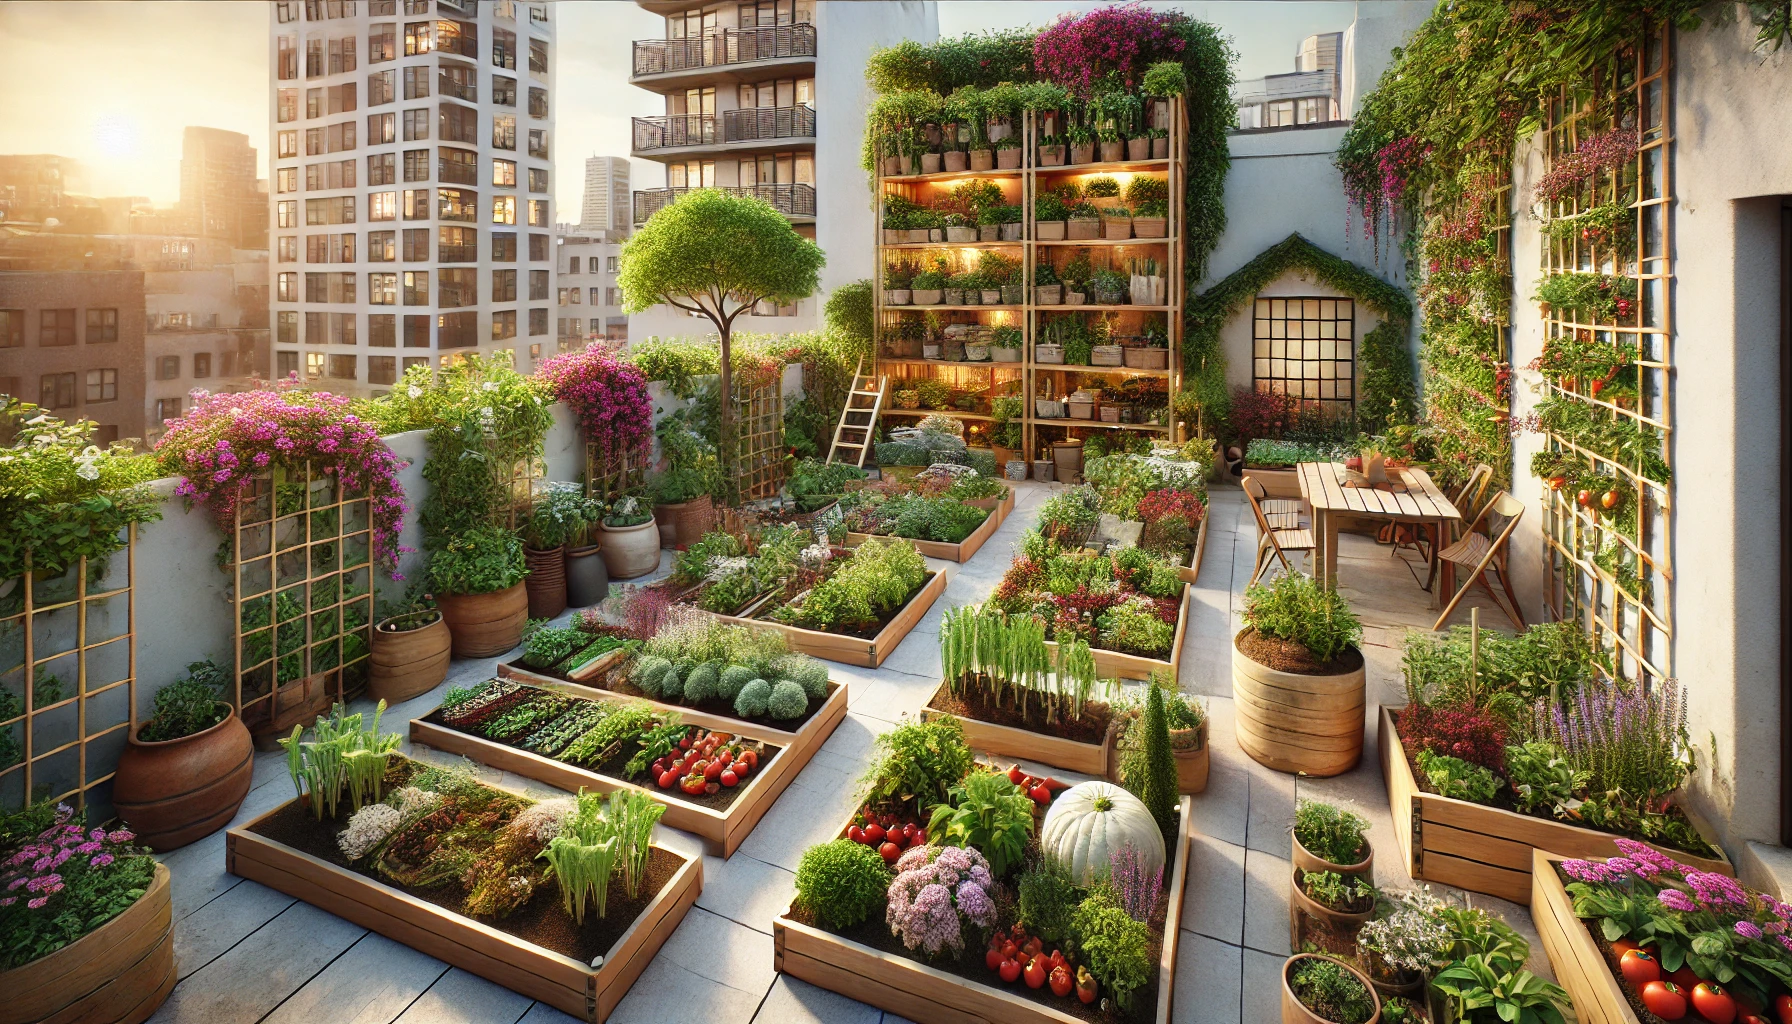
Raised beds are an excellent solution for urban gardeners dealing with poor soil quality, limited space, or simply the need for a more organized and manageable garden. By elevating the garden bed above the ground, you gain greater control over soil composition, drainage, and accessibility. Raised beds are also ideal for small spaces, as they can be customized to fit almost any area, from narrow balconies to compact patios.
1. The Advantages of Raised Beds
Raised beds offer numerous advantages that make them particularly well-suited to urban gardening:
Improved Soil Quality: One of the most significant benefits of raised beds is the ability to control the soil composition. Urban gardeners often struggle with compacted, poor-quality soil that lacks the nutrients necessary for healthy plant growth. By filling raised beds with a high-quality soil mix, you can create an optimal growing environment tailored to the specific needs of your plants.
Better Drainage: Raised beds naturally improve drainage, as excess water can easily flow out of the beds rather than becoming trapped and leading to waterlogged soil. This is especially beneficial in urban areas where heavy rainfall or poor drainage can quickly become a problem.
Extended Growing Season: The soil in raised beds warms up more quickly in the spring compared to in-ground gardens, allowing you to start planting earlier. Additionally, raised beds can be easily covered with hoops or row covers, providing protection from cold weather and extending the growing season.
Ease of Access: Raised beds are typically built at a height that reduces the need for bending and kneeling, making gardening more accessible and comfortable, particularly for those with physical limitations.
2. Designing and Building Raised Beds
When designing raised beds for your urban garden, consider the following factors:
Size and Shape: The size and shape of your raised beds should be tailored to the available space and your gardening needs. A standard raised bed is usually 4 feet wide (allowing easy access from both sides) and can be any length that fits your space. The height of the bed can vary, with 12 to 18 inches being common, but taller beds can be built for greater accessibility or to accommodate deeper-rooted plants.
Materials: Raised beds can be constructed from a variety of materials, including wood, stone, brick, or metal. Wood is the most common choice due to its affordability and ease of use, but be sure to choose rot-resistant wood like cedar or redwood for durability. Avoid using treated lumber, as it may contain chemicals that can leach into the soil.
Soil Mix: The soil you use in your raised beds should be a well-draining mix rich in organic matter. A good starting point is a blend of one-third compost, one-third garden soil, and one-third coarse sand or perlite to ensure proper drainage and aeration. You can adjust the mix based on the specific needs of the plants you intend to grow.
3. Planting in Raised Beds
Once your raised beds are constructed and filled with soil, it’s time to start planting. Here are some tips for getting the most out of your raised beds:
Maximize Planting Density: Raised beds allow for more intensive planting, as the soil quality and drainage are optimized. Use companion planting techniques to maximize the number of plants in each bed while ensuring they benefit each other. For example, plant fast-growing crops like lettuce or radishes between slower-growing plants like tomatoes or peppers to make the most of the available space.
Rotate Crops: To maintain soil health and reduce the risk of pests and diseases, practice crop rotation by planting different crops in each bed each year. This prevents the buildup of specific pests and ensures that nutrients are not depleted from the soil.
Mulch and Water Regularly: Mulching your raised beds with organic materials like straw, leaves, or compost helps retain moisture, suppress weeds, and regulate soil temperature. Raised beds tend to dry out more quickly than in-ground gardens, so regular watering is essential, particularly during hot or dry weather.
Hugelkultur: A Sustainable Twist on Raised Beds
Hugelkultur is a gardening technique that takes the concept of raised beds to the next level by incorporating rotting wood and organic matter into the bed’s foundation. This method creates a self-sustaining, nutrient-rich environment that slowly releases moisture and nutrients to plants over time. Hugelkultur is particularly beneficial in small urban spaces, as it maximizes the productivity of your garden with minimal inputs.
1. The Basics of Hugelkultur
Hugelkultur, which means "mound culture" in German, involves creating a raised garden bed by layering organic materials, starting with a base of logs or large branches. These materials decompose slowly over time, providing a continuous source of nutrients and moisture for the plants growing above.
The process of building a hugelkultur bed typically involves the following steps:
Create the Base Layer: Start by laying down a base of large logs or branches. These should be partially decomposed, if possible, as this will help speed up the decomposition process. If you don’t have access to large logs, smaller branches, twigs, or even cardboard can be used as a substitute.
Add Organic Layers: On top of the logs, add layers of organic materials such as leaves, grass clippings, compost, and straw. These materials will break down over time, feeding the soil and plants. Continue layering until the bed reaches the desired height.
Top with Soil: Finish the hugelkultur bed by adding a thick layer of soil or compost on top. This is where you’ll plant your vegetables, herbs, or flowers. The depth of the soil layer will depend on the types of plants you’re growing, but aim for at least 6-8 inches to provide enough root space.
2. Benefits of Hugelkultur in Urban Gardens
Hugelkultur offers several benefits that make it an attractive option for urban gardeners:
Water Retention: The decomposing wood at the base of the bed acts like a sponge, absorbing and retaining water. This reduces the need for frequent watering, making hugelkultur particularly useful in areas with limited water resources.
Nutrient-Rich Soil: As the wood and organic materials decompose, they release nutrients into the soil, providing a long-term source of fertility for your plants. This reduces the need for additional fertilizers.
Sustainability: Hugelkultur makes use of organic waste materials, reducing the need for commercial soil amendments and helping to recycle natural resources.
Soil Improvement: Over time, hugelkultur beds improve soil structure and health, encouraging beneficial microbial activity and creating a more robust growing environment.
3. Planting and Maintaining a Hugelkultur Bed
Once your hugelkultur bed is built, it’s ready for planting. Here are some tips for successful planting and maintenance:
Choose Appropriate Plants: Hugelkultur beds are well-suited to a variety of plants, particularly those that thrive in rich, well-drained soil. Consider planting vegetables like squash, beans, and tomatoes, as well as perennials like herbs and flowers that can benefit from the slow release of nutrients.
Monitor Moisture Levels: While hugelkultur beds retain moisture well, it’s still important to monitor soil moisture, particularly during the first few years as the wood decomposes. Water the bed as needed, especially during dry periods.
Replenish Organic Matter: As the organic layers decompose, you may need to add more organic matter to the top of the bed each year to maintain its height and fertility. Compost, mulch, and additional soil can be added to keep the bed productive.
Final Tips for Maintaining a Thriving Urban Garden
As we conclude this guide to maximizing small spaces in urban gardening, here are some final tips to help you maintain a healthy, productive garden:
1. Regular Monitoring and Maintenance
Urban gardens, especially those using innovative techniques like hydroponics, aquaponics, and hugelkultur, require regular monitoring and maintenance. Check your plants frequently for signs of pests, diseases, or nutrient deficiencies, and take action promptly to address any issues. Regular pruning, watering, and fertilizing are essential to keep your garden in top condition.
2. Maximize Sunlight
Sunlight is often limited in urban environments, so it’s important to make the most of the available light. Place your garden in the sunniest spot possible, and consider using reflective surfaces like mirrors or light-colored walls to increase light exposure. If natural light is insufficient, especially for indoor gardens, invest in high-quality grow lights to provide your plants with the light they need to thrive.
3. Utilize Vertical and Hanging Space
As discussed earlier, vertical gardening and hanging planters are excellent ways to maximize space in small urban gardens. Don’t hesitate to experiment with different vertical structures and plant combinations to make the most of your available space.
4. Embrace Continuous Learning
Gardening is a journey of continuous learning. As you experiment with different techniques and plant varieties, take note of what works best in your specific environment. Keep a gardening journal to track your successes and challenges, and don’t be afraid to seek out new information and resources to improve your gardening skills.
Wrapping Up
In this final section, we’ve explored the benefits of raised beds and hugelkultur, as well as additional tips for maintaining a successful urban garden. By incorporating these techniques into your gardening practice, you can create a thriving, productive garden that makes the most of your small space, whether you’re working with a balcony, patio, or rooftop.
Urban gardening may come with its challenges, but with the right strategies and a little creativity, you can transform even the smallest space into a lush, green oasis. By combining the techniques discussed in this guide—vertical gardening, container gardening, hydroponics, aquaponics, companion planting, raised beds, and hugelkultur—you can enjoy the benefits of homegrown food and flowers, no matter where you live.
Thank you for joining us on this journey into the world of innovative urban gardening. We hope these tips inspire you to get started or take your urban garden to the next level, creating a space that is both beautiful and bountiful.


Leave a Comment